Paper Pull Outs


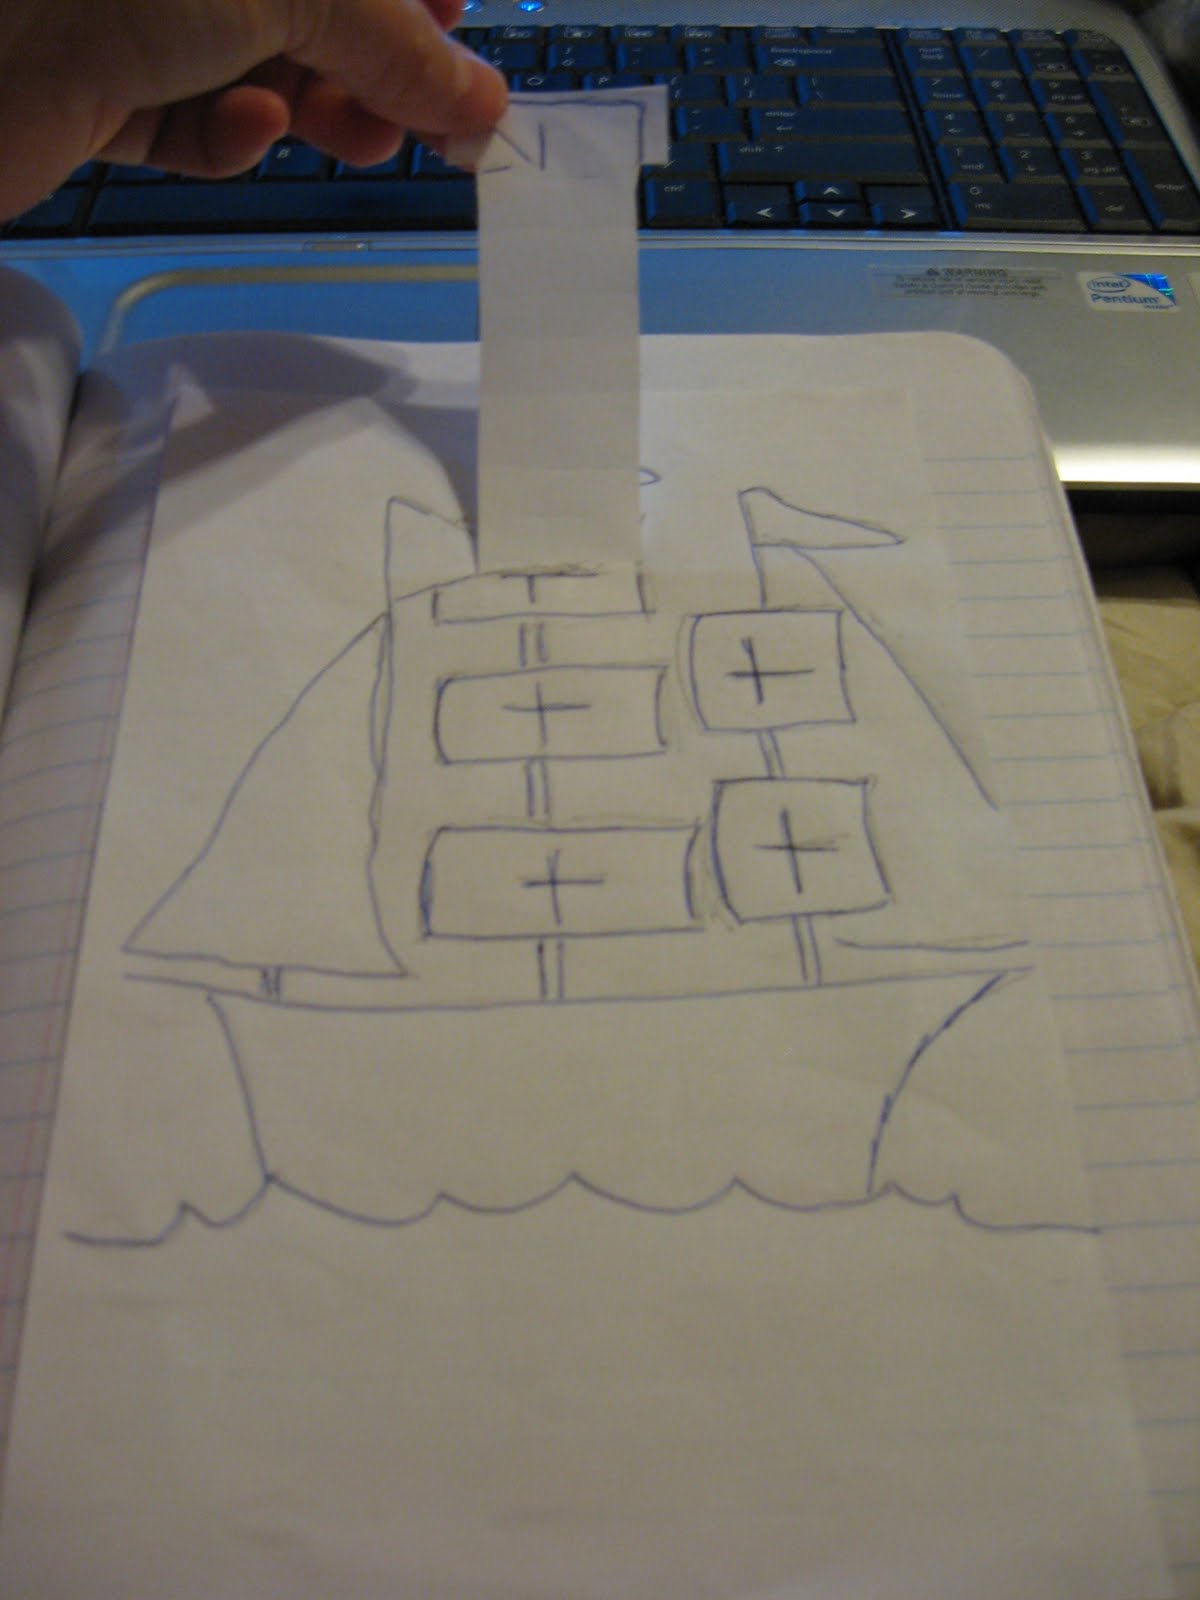
I had seen a project on the internet that involved a pull out tab on a teapot and I have been thinking about how it can be used in notebooking. Today I had my "Aha moment" :)

I know my examples above are social studies based and that is only because I happen to be meeting with some social studies teachers this week. The concept would still apply to science.

One social studies teacher is entering a unit about westward expansion. I thought she could take the groups they discuss and students would choose a group (rancher, Native American, Asian immigrants, miners, etc.) to do a pull out tab person for their right hand assignment (my example was of a cowboy/rancher) - the fourth picture is what the back looks like. When finished the edges only would be glued to the notebook (leaving the tab to move freely in and out of the hat). Students would have to finish writing their information on the tab before the edges of the picture got glued in the book (very hard to write on the tab once it is already glued in the book...learned the hard way :)

Another teacher I am meeting with is doing a unit on explorers - so my two bottom examples were of a viking and Christopher Columbus ship.

I freehand copied clip art pictures on the internet because I can't draw at all. I did a Google image search for "viking clip art" and found a forward facing viking and freehand sketched it for this project.

I am hoping to convince these two teachers to do this project. If I am successful I will post some student samples!

Comments

Anonymous said…
My students made John Muir "pop outs" today! Thanks for the idea!
Anonymous said…
I love this idea. I teach Kindergarten and there are lots of ways I can envision using this. I can give them a picture of a crayon
and have the children write color words on the pull out tab. Use any picture and write adjectives to describe the picture on the pull out tab. Write sight words on the tab and draw pictures to match.

Popular posts from this blog

Secret Messages - How To (Light and Color)

This was fun activity that I got from Roper Mountain Science Institute. They suggested red theater gel to reveal the message, which can get pricy. Another idea I heard was to ask movie theaters to donate left over 3D glasses, which also have a red filter. A guest speaker we had last year said red jello would work. Tried it this week and it worked like a charm. The students thought it was very cool. I found my "attention challenged" students had trouble focusing on making their own secret messages so I was very glad that I had made extra copies of the sheets from the GEMS Color Analyzer book that they could color and then check under the jello.

Picture of the Day - Activity

I attended a training class and a science coach shared an activity that he does with his students to help them differentiate between observations, inferences, and predictions. He puts a picture on the interactive white board as a warm up (he gets the pictures from a variety of sources but uses National Geographic's Picture of the Day a lot). The picture above is from the National Geographic site. He has the students make five observations. Then he makes the students make five inferences. Finally he has the students make five predictions. He does this every day and it really drives home the difference between those three key inquiry vocabulary terms. I've done this activity with both my sixth and fourth grade science classes and the students really got into it and became proficient at telling me the difference between those terms.

QR Project - Open House

Twitter Post Link -  https://bit.ly/3Umic7r I saw this adorable QR code project on Twitter and decided to try it out with a couple of third grade classes. We have several schools in our district who are "Leader in Me" schools and I asked a teacher if I could come in and make them for her open house (you don't need to be a "Leader in Me" school but I know they do a lot of goal setting and mission statements). She loved the idea! I decided to use Flip (formally Flipgrid) to do the recording. The web based program is free for educators and automatically generates the needed QR code. We started on a Thursday. I pulled students into the hall to get a picture of them holding a square piece of paper prior to an ELA block. The paper acted as a place holder for the QR code (which is square) and ensured I got the correct hand spacing so the students looked like they were holding the QR code. I found a spot that didn't have anything in the background. The background...