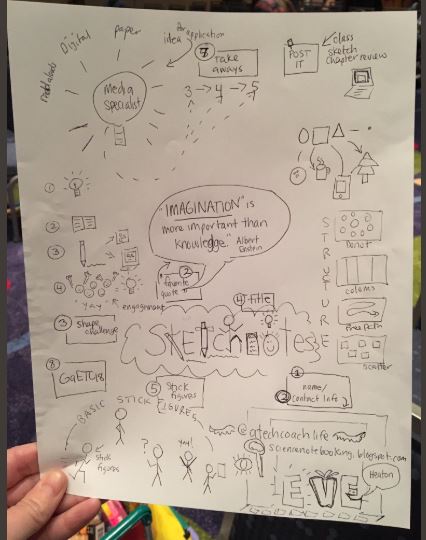
Friday is World Sketchnote Day (January 11th). I recently fell in love with Sketchnoting after attending Matt Miller's session at GaETC. Sketchnoting is a type of visual notetaking that allows people to better recall concepts and ideas. It combines structure, text, and pictures to convey thinking in a creative way.
To be clear I am not an artist and my first attempt during the session, where we were given challenges to complete, wasn't very good. I am glad that we were told that it wasn't about the ART but about the IDEAS.
In the session someone said I should find Wanda Terral, and see if she was doing a Sketchnote session. As it turned out she was sitting three rows ahead of me and she told me that I should check out Sylvia Duckworth's new book (which was coming out that week) about Sketchnotes.
 |
| Purchase Link |
I pre-ordered it and read it cover to cover over Thanksgiving break. It is a fabulous easy to read resource!
I loved it so much I left a glowing review on Amazon.
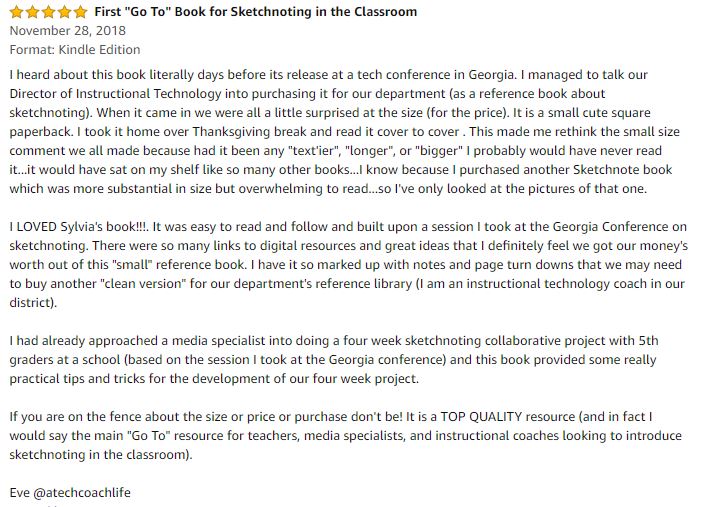
The author was so nice and contacted me and sent me an autographed copy (how nice was that?!?!).

I was telling one of our media specialist about it and we teamed up to teach Sketchnoting to 5th graders over four weeks (the four weeks before the winter break).

She only saw them once a week...hence the four week time period. Not knowing what we were doing we broke it down as follows:
Week 1 - Doodle warm up (from Sylvia Duckworth's book), Introduction (with Sketchnote challenges throughout the lesson similar to what I experienced at the conference with Matt Miller). Below are some of the completed "challenge" sheets students did during this first lesson.


Week 2 - Doodle warm up (from Sylvia Duckworth's book), Creating our Doodle Dictionary. Students learned how to draw various frequently used icons...all of the ones I selected were from the Sylvia Duckworth book). I bought these file folders from Amazon and each student got one with 10 sheets of blank paper on the inside (five sheets on one side and five on the other). We didn't have time to get them to decorate the outside...but in my fantasy world I wanted them to (see my example below). I wish I had called it a Doodle Dictionary...which has a better ring to it. The idea is that they would continue to add "doodles" to their "dictionary" for reference when they needed it. As the teacher, I would given them a few new doodles a week to add that related to content (for example in week three I knew they might need to draw a moose so we added a moose to their Doodle Dictionary).


Week 3 - Doodle Warm Up (from Sylvia Duckworth's book), Review and Create Our First Sketchnote (we used Hanukkah in Alaska on StoryLine Online). This was my example I showed students (I used a different book so they wouldn't copy...but we found they copied the layout):


Note: We had students add a thinking person sketch in the corner with a thought bubble so they could write down any questions they had while they were watching the video. The school is going for STEM certification and questioning is a competent. If we had time we could have let them research their questions. Since we didn't we let them share out and discuss.
Week 4 - (This was the plan) Doodle Warm Up (from Sylvia Duckworth's book), Sketchnoting Digitally with academic content (the idea was to show students how they could use their tablets built in Sketchpad and Kami to create Sketchnotes)
We realized at the end of week three that we had to adjust. Students didn't do well on their own. When we showed the Storyline Online book they didn't know where to start or what to do (one class finished the other class didn't). We learned that they needed some structure. We also found out that we couldn't get them in the fourth week due to performance practice. We talked their teachers into letting us teach a content based lesson in their classroom the last week, which actually turned out to be really good. Since it was in a regular classroom block, not a related arts block, the teachers stayed with the class so we were able to show how Sketchnotes could be incorporated into a lesson and they could see what the students were capable of. In the classroom lesson we gave students a template (STRUCTURE) with resources and specific instructions and they did much better!


We did some digital sketching in the warm ups in weeks two, three and four using Kami and the built in tablet Sketchpad but we never created a digital version from start to finish, which was my goal. Perhaps if we had them longer we might have been able to get to it.
It was a fun four weeks regardless and it is possible that Kim, the media specialist, and I learned more than the students but we now have a better idea of how we would do projects like this one in the future.
Fortunately I get another chance with a fifth grade class in a few weeks. I was showing some of the student work to a teacher in another school and she is having me come in Monday-Friday in her AM block one week to teach a similar "sketchnote unit" with her students. I am super excited to apply the lessons I learned from doing it the first time. I'll definitely post updates!
In the meantime you, and your students, can participate in World Sketchnote Day by having them creating a Sketchnote on any topic and then posting it to social media with any, or all, of the following hashtags.
#SNDay2019
#sketchnotefever
#sketchnotes
#sketchnoteArmy
Comments