This was my "WOW" moment at ISTE and to think I might have missed it!
When you sign up for an ISTE conference you register for three ticketed sessions. I didn't get any of the three I wanted (or any at all). Not sure why considering the rest of the people I was with got theirs. If you don't get a ticket to a session you can stand in a "wait list" line outside of the room and they open it up five minutes prior to people without tickets (if there is room - learned that lesson the hard way at ISTE in Atlanta last year). Anyway I lucked out on this trip and a random person gave me one of her tickets to a session that she couldn't go to and then my friend Beth gave me hers to this one - "TouchCast How to Make Interactive Touchable Videos"...she had opted for a different session offered at the same time...BIG MISTAKE (which being the good friend that I am texted that to her :).
Touchcast is a FREE app. It allows the user to:
Create an interactive presentation that mixes video with web content. The app lets you record a video and overlay elements such as web pages, maps, photos, Twitter streams, polls, quizzes and more. Users watching the video can click on these multimedia elements and interact with them while the video continues to play .
This was such a cool app that I am dedicating a large portion of, what is left, of my summer vacation to playing with it. Imagine being able to make interactive videos where you can click on popups on the screen! I'm story boarding a book review video right now that I want to try out as my sample.
At the session (which was sadly only an hour long) they broke us up in groups in the corners of the presentation room and had us work with TouchCast ambassadors (people who really knew what they were doing with the app). See picture below (I'm in the middle of the green screen shot on the screen).
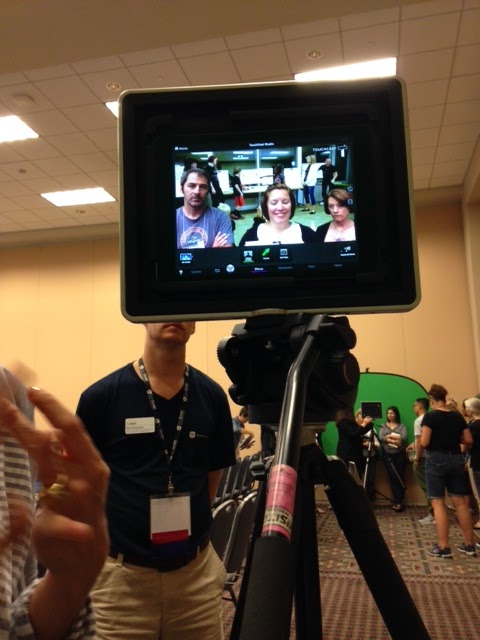
I was also excited to see The Padcaster being used in the session (see this early post on The Padcaster). If you have a green screen the app has chroma key software built in. The break out session had my head spinning because there are a lot of features within this app...from chroma key to teleprompters to vapps to titles, etc...The ambassador assured us that if she, and her students, could do it that we could. She warned there would be a learning curve but I'm ready to take that on for such a cool product.
I've already started reviewing their huge library of "how to" videos and can't wait to get started.
So that is it folks...my Top Ten ISTE Ideas for 2015. I am hoping that our budget will allow me to go to ISTE 2016, which will be held in Denver next summer. If ISTE is something you want to attend but you don't have the money you might want to consider THIS GRANT - which I wrote about last year. Sadly I am ineligible for the grant due to the nature of my job but any classroom teacher who works with students 70% of the time can apply. If you manage to go (and I manage to go) look for me on the first day of the conference (the opening keynote day) rocking this t-shirt and say hi!

Comments