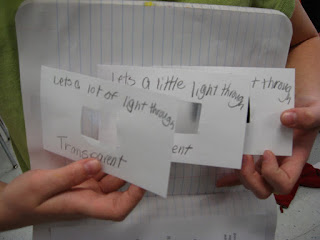
Students made these transparent, translucent, and opaque cards as part of their right-hand notebook assignment (left hand side was information that we had read and highlighted earlier in the lesson). Students had to make the cards (we used extra laminating film for the transparent, wax paper for the translucent, and black construction paper for the opaque). They had to write down the name and definition, using the left hand notebook reading.
They got to play around with them with a flashlight before taping the top edge of each card to their books for future reference.
Differentiated Instruction - Have all materials on trays for each table. Model how to make the cards. Write what they are to put on the card on the board. Model how to share one tape dispenser (I had students peel off four peices of tape and stick to their desk and then pass it around so by the time it got back to the first person they were ready for the next group of four - this REALLY cut down on the arguing). Teach the first people done how to tape into the notebook and have them go around helping you.
This can be adapted to a three ring binder. Print out the information about the three types of material on one side and have them tape their completed samples on the other side.

Comments
-Kimberly